Here's a tutorial that I've made, it already helped a lot of people understanding the first steps of making banners, if you have any questions about it don't hesitate to ask them.
some links are gone, my apology for that(this tutorial is made in psp x, but can also be made in psp 9)
* First of all click on file and choose new.
*add widht at 500 and height at 150
like this :

* Now open some pictures that you want to use (but be sure that the background is the same (for example you need to have 3 dark backgrounds or 3 light backgrounds)
Here are 3 example pics: (you may use these for trying out)


* When you have chosen all the pictures you go to the topbar and click on Image and then choose resize. A new pop-up screen will appear. Make here sure that it says
Pixels next to width and height. The only thing I always do here is change the width it to 250, the height will change with it. Do this with all the pictures
* Now rightclick on a picture and choose for
copy* Now go to the empty banner and rightclick on it, but now choose for
past as new layer the picture will now appear in the empty banner. With the
move tool you can slide it from left to right in the banner.
example: 
* Now do the same with the next picture. [copy & past as new layer[/b] but this time slide halfway over the first picture [like this:[/b]

* Now click on the eraser tool that's on the leftside toolbar. Reduce the size of it to 20 (you can do this on the topbar)
* Now zoom in on the banner untill you've reached 250 or 300.
* Now erase the left side of the second pictures you've placed in the banner
like
* Now add the last picture
copy & past as new layer and follow the same instructions as shown above. If you've done it right your banner should be
like this
* Now go to the left toolbar and click on
A this is
the text-tool Choose a font that you like and a size.
* Now go to
Materials on the right side (if you don't see this this then click on
F6 it will appear now.
* Here you see a color screen and two large squares and two little squares.
* Click on the large squares and you'll see that a new pop-up screen will appear. Here's where you can change some colors. I have chosen for a green (the top square) and a white color (the second square) for the text.
* Now go to your banner and click on it, another pop-up screen wil appear where you can add your text in. Click on apply when your done.
if you look closely, you'll see a circle in the center of the text, when you go to that with your mouse you'll see that the cursor changes into a move tool, you can move the text now, just click on the leftmouse button and hold it, and place the text where you want it in your banner.
We're almost done* Now go to the topbar and click on layers, go down to merge and then choose for merge all (flatten)
* now go to enhance photo (this is on the topbar) and make the banner beautifuller
* At last go to file and click on save as.
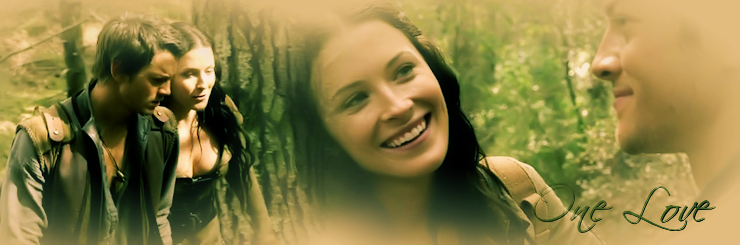
Here's an example of the banner when it's finished
[/quote]


 .
.


 your very welcome, and if you have any questions don't hesitate to ask them